
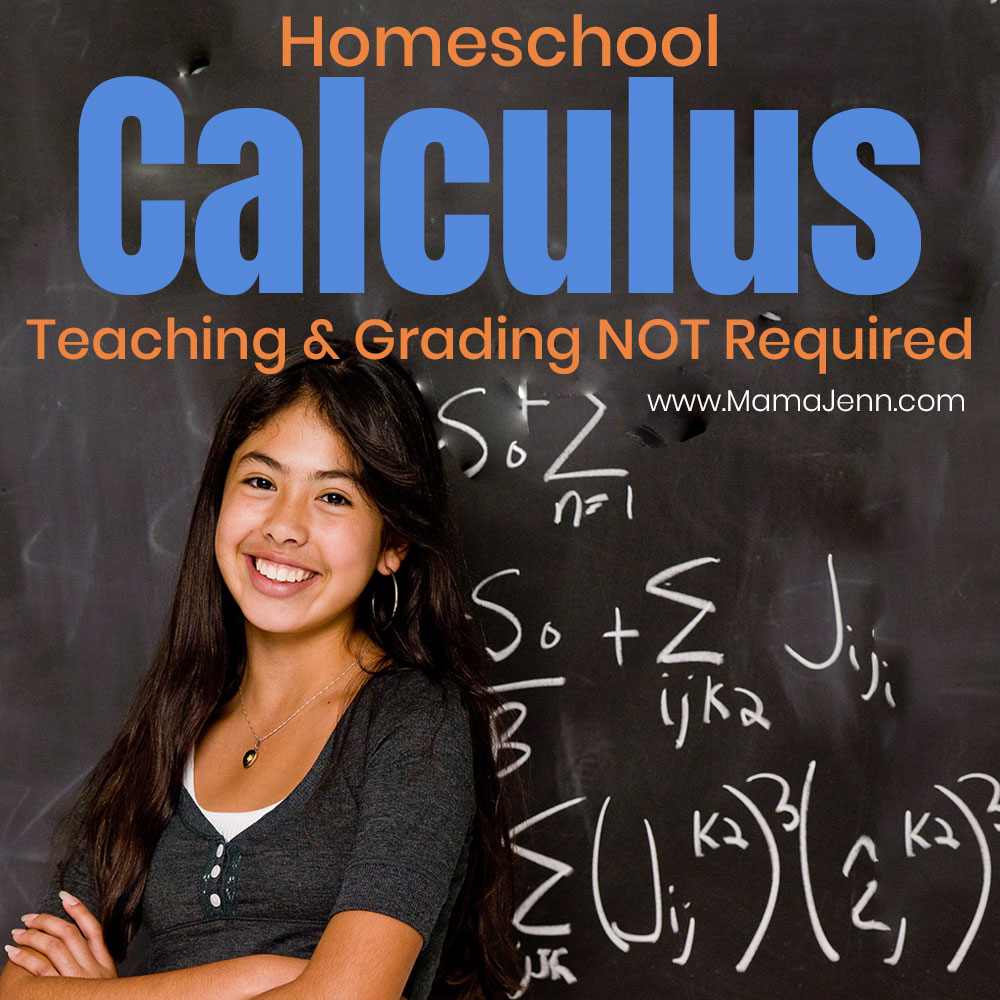
Self-Paced Calculus for Homeschoolers {Teaching & Grading NOT Required}
Provide a self-paced calculus education for your homeschool teen that does NOT require you to teach lessons or grade assignments! Derivatives, integrals, limits, oh my! …
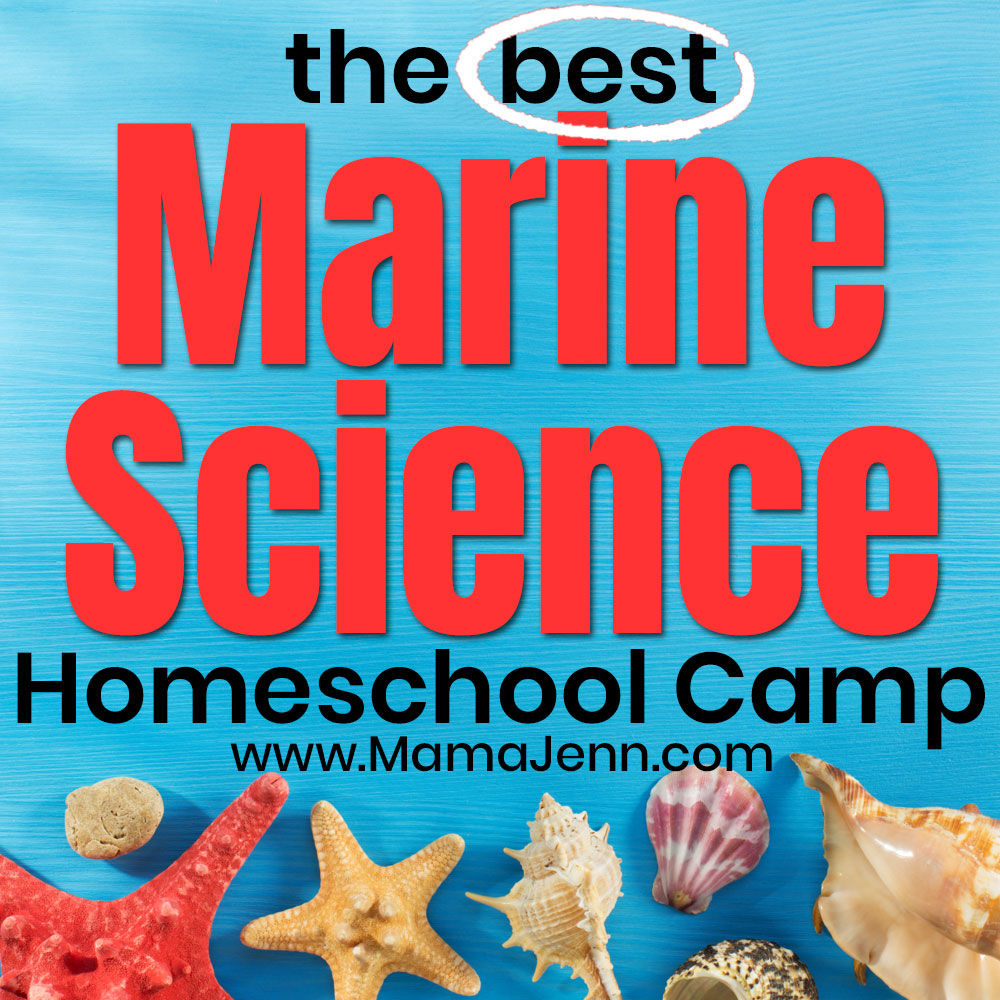
The Best Homeschool Marine Science Camp for Teens
Greg Landry’s Homeschool Marine Science Camp is an amazing week-long experience jam-packed with learning, fun, and long-lasting memories! Do your kids want to learn about …
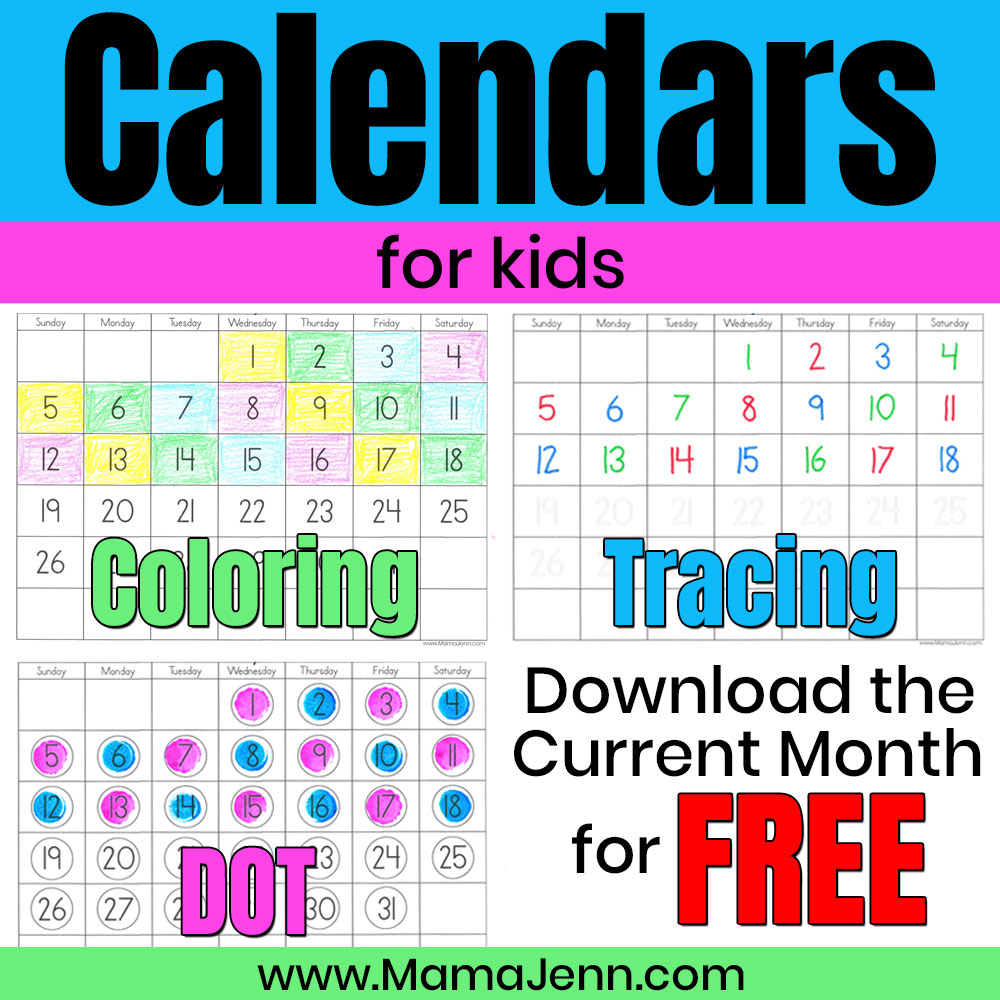
FREE Printable Calendars for Kids: Trace, Color or use Dot Markers
Download & print multiple versions of calendars designed for kids! Choose from tracing, dot, or coloring calendars! Current month is FREE! Calendars are a great …
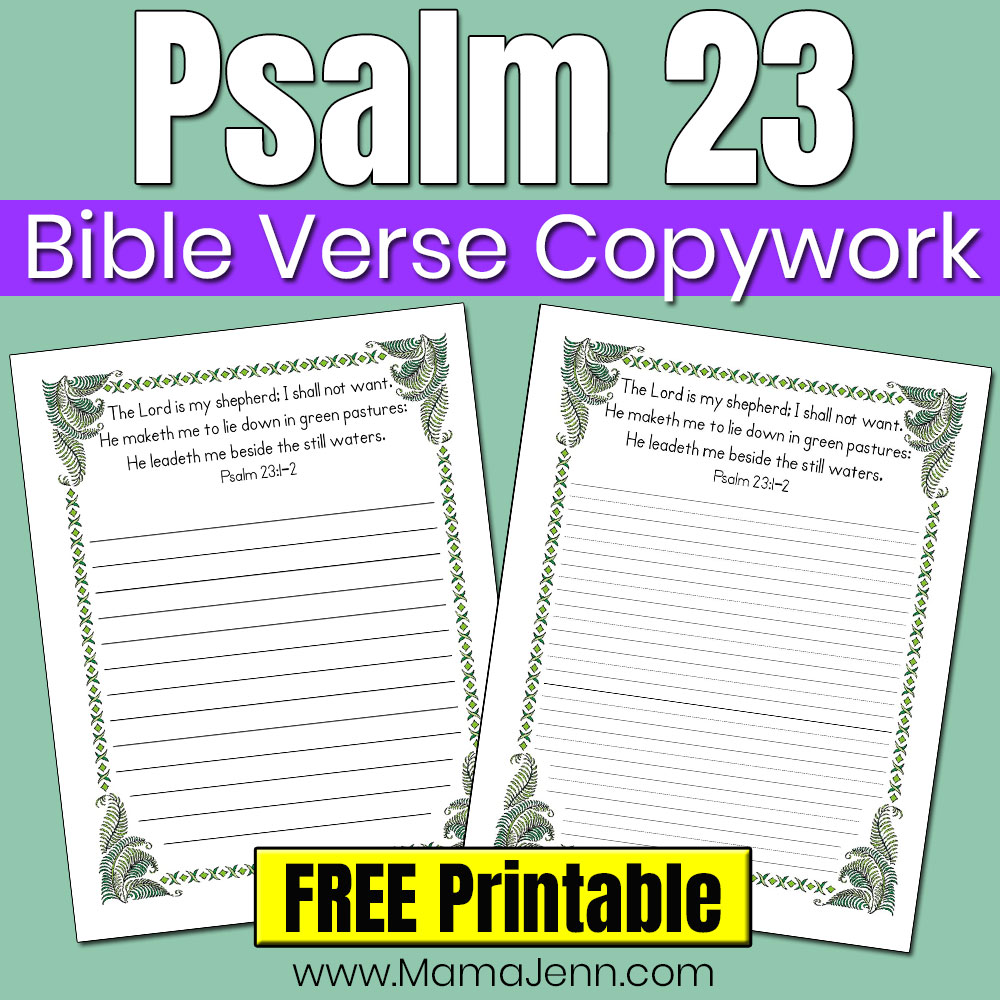
Psalm 23 Bible Verse Copywork Pages – FREE Printables to Download
Use these Psalm 23 copywork pages to practice penmanship & grammar. Download these FREE 23rd Psalm Bible verse printables today! Are you teaching Bible verses …

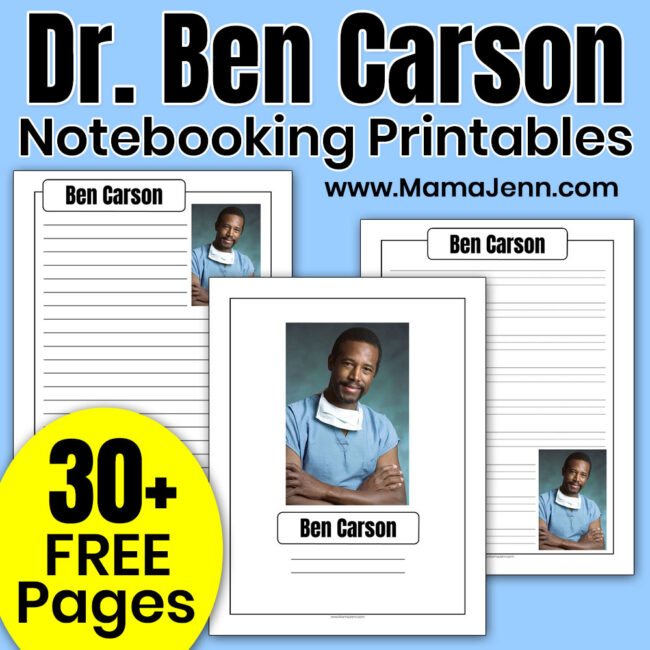
Dr. Ben Carson Notebooking Pages (FREE Printables)
Download and print these FREE Ben Carson notebooking printables. The download includes 30+ pages featuring the acclaimed neurosurgeon! As a renowned pediatric neurosurgeon, Dr. Ben …
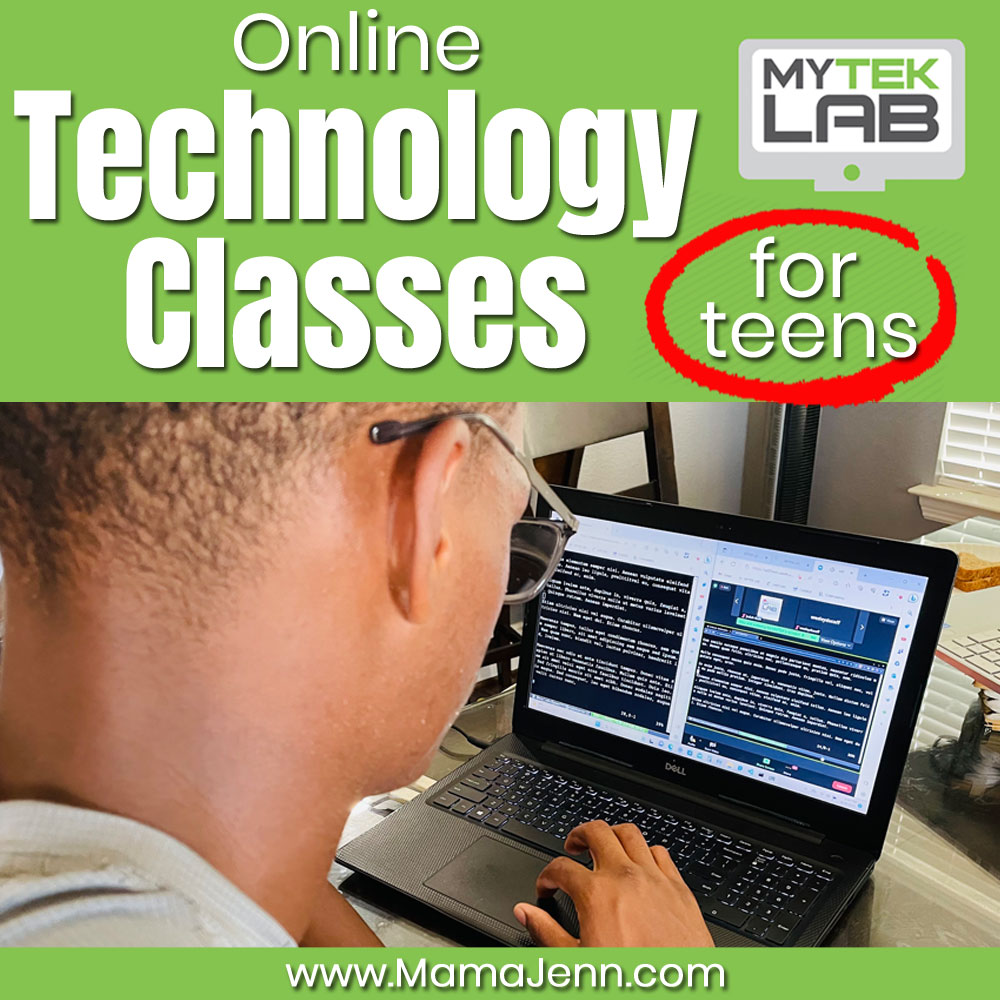
Online Technology Classes for Teens who Love to Code
Do you have a teen who loves to code? Then you’ve GOT to check out MYTEK LAB and their live, online technology classes! Through the …
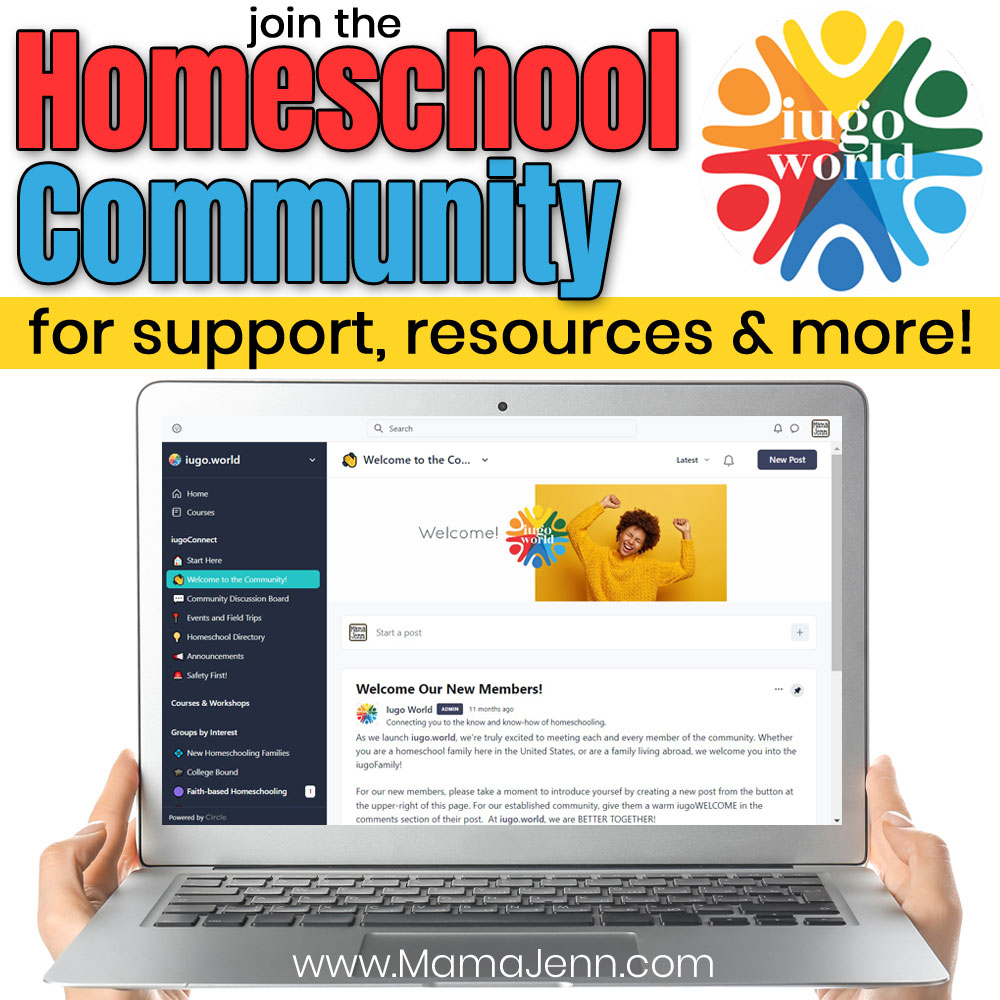
Join the iugo.world Homeschool Community for Support, Resources, and More!
Don’t homeschool alone! Join the all-encompassing iugo.world homeschool community for support, resources, and much more! Are you sure about this? I got this question quite …
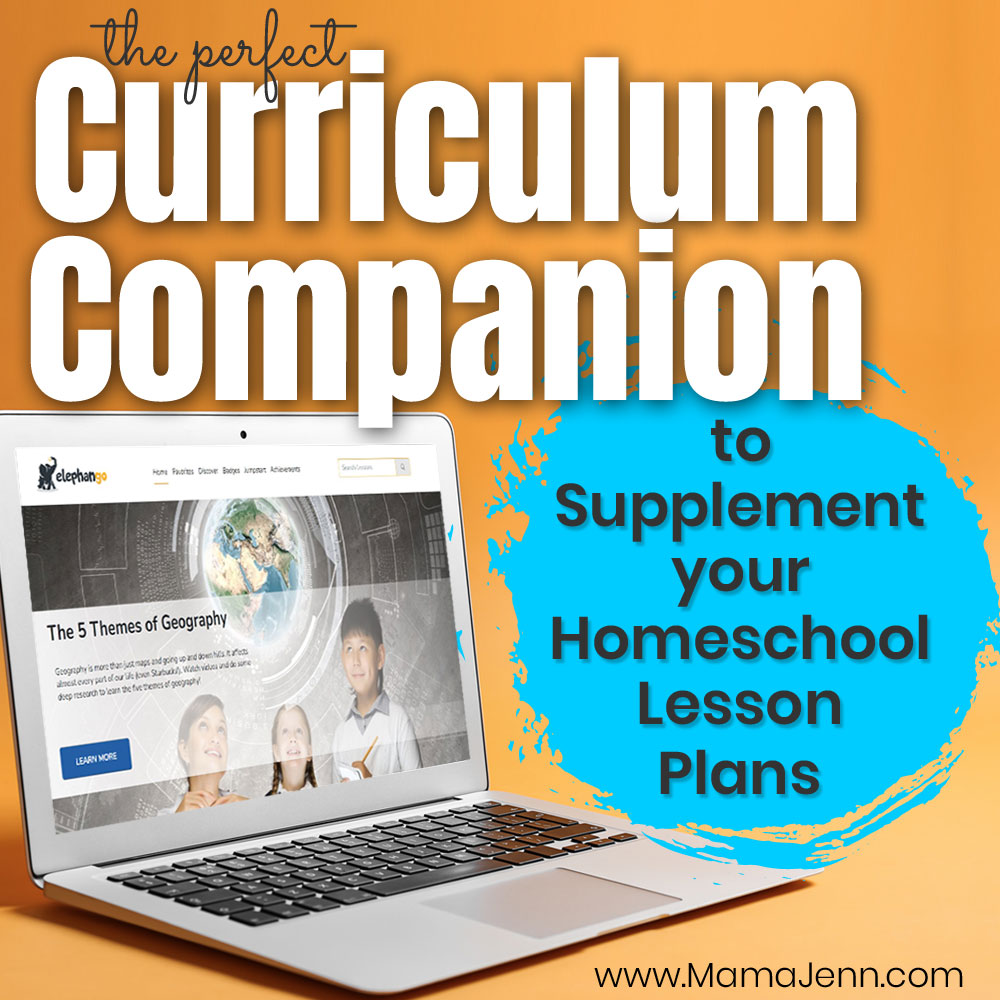
The Perfect Curriculum Companion to Supplement Your Homeschool Lesson Plans
Need a homeschool curriculum companion to supplement your lesson plans? Access 3000+ carefully curated lessons designed to inspire a love of learning! What if I …
Find what you’re looking for:
Use the search bar below to find exactly what you’re looking for!
Printables to Download:
Educational Activities:
Fun Crafts for Kids:

Homeschool Resources:


Homeschooling with My Father’s World:


The Mama Lifestyle:
Find what you’re looking for:
Use the search bar below to find exactly what you’re looking for!
Looking for my FREE Printables?
Visit my Freebie Vault to get access to my growing collection of FREE printables. However, the freebies are password protected and are only available to Mama Jenn email subscribers. Subscribe below to receive the password to download the files.